Welcome to the Concrete Pier System Installation Guide for how to build a pole barn. This instruction manual will walk you through all the steps to building your pole barn kit. From start to finish, CPS can answer any of your questions to help you build the best pole barn.
Table of Contents
How to Build a Pole Barn Foundation
Marking the Foundation of a Pole Barn
Pick to spot you want to install your pole barn kit. The location of the building foundation should be placed to take advantage of the natural water drainage of your location and the location of doors and entry points of the building. It is not necessary to have a perfectly level grade, but the grade should not vary more than two feet. Final grade work can be done after the foundation piers have been installed and adequate time for the concrete to cure.
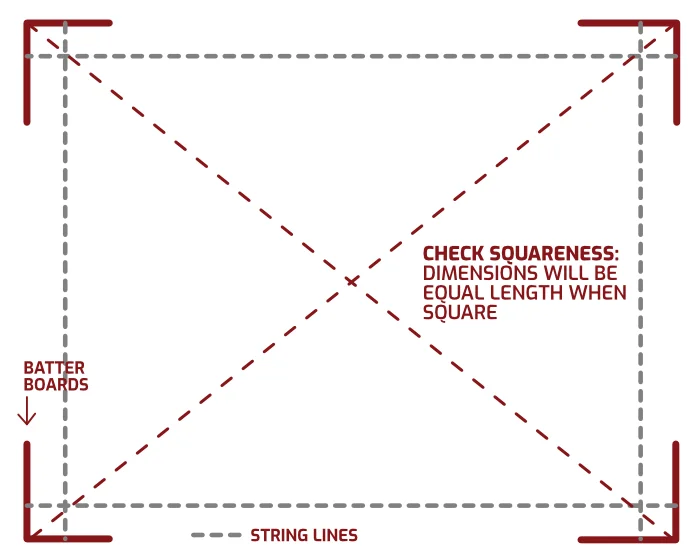
After you have decided where to locate your building and have roughly marked out the four corners, find the highest point of the foundation. Place a stake or rebar at this corner to use for your precise measurements. Measure off the four walls from this point according to your building plans. Check for the squareness of the building by making sure the diagonal measurements are identical. Make adjustments to the corners until all wall distances and diagonal measurements are precise. The more time you spend getting the corners precisely located, the easier your installation will be, and the outcome will be of higher quality.

Set up the batter board stakes to hold the string lines in place. Place the vertical boards about one foot in all directions from the corner location. This allows for clearance to dig the corner holes later. Place the horizontal boards that your strings will attach to 9″ above the highest grade elevation. Use a laser level to maintain this height on all corners. Do this for all four corners.
Place the line on the horizontal batter boards where your walls will run. Make sure the string is tight enough to be perfectly straight.
Next, you’ll place wood stakes at intervals for your piers as designated by your design plans. These are to mark where your piers will be dug. Make sure your pier stakes are 4″ inside the string line. This will center the pier on the wall.
Watch this video to see the steps on how to build a pole barn and mark your foundation.
Augering the Piers of a Pole Barn
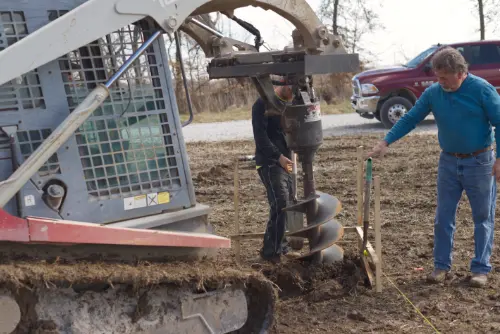
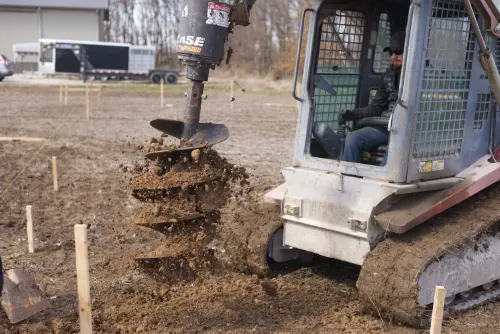
Start your piers by drilling down with a standard straight auger in the hole previously made by the stake. This establishes the hole and depth for the next step. Clear away the loose soil from the top to keep it from falling back in. Auger the hole to a depth below the frost line of your finished soil grade height. Frost depth is determined by local building codes. Do this for all the piers for your building.
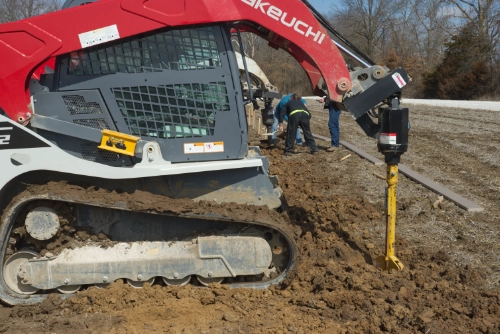
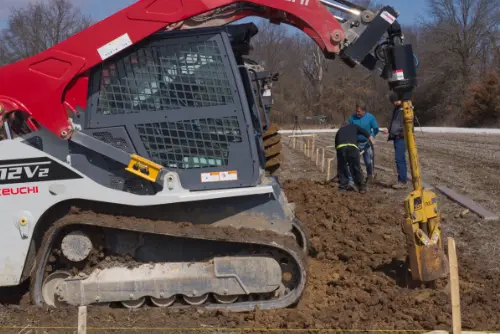
After the straight auger, using a Jess Tools belling auger, dig down in the same hole to create the bell shape that makes it impossible for the frost up-force from heaving your piers. You will need to watch to see when the auger soil catch fills with soil and remove and empty the auger. This can take 3-5 rotations or more. The Jess Tools auger also has a built-in depth gauge, so you ensure it’s wide enough.

Finish up your piers by clearing the dirt around the top of the hole to make room for the next steps.
Watch this video to see the steps on how to build a pole barn and auger the piers.
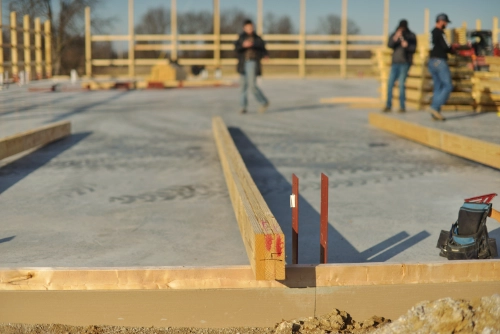
Installing Splash boards on a Pole Barn
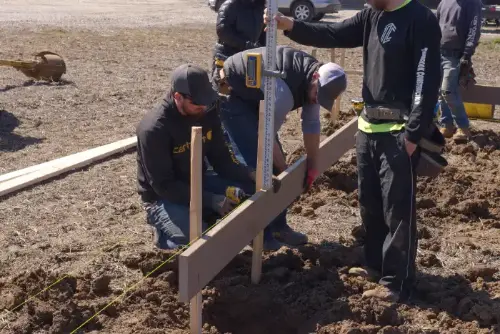
Drive wooden stakes to hold the WearDeck splash boards. The stakes should be on the exterior side of the line. Place a stake every 6 feet or tighter in wet conditions. Place a stake 1 foot on either side of the pier holes. CPS recommends using their Wear Deck splash boards. It’s a special formulation of polymer and fiberboard that won’t ever rot or stretch. Using a laser level, install the splash boards confirming on all sides that they are vertically level. CPS usually installs the splash boards 1/4 inch above the line and then, once installed, tap them into precise height using the laser level.
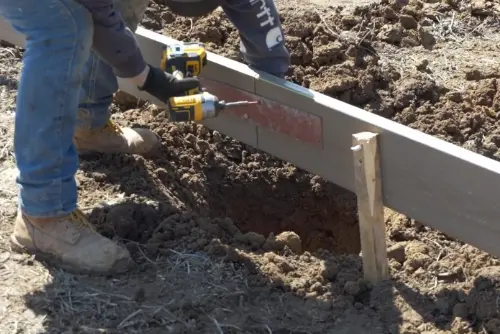
Attach joint bracing in between each board, which can be removed once the floor is poured. Repeat around the perimeter until complete and level. At each corner, use screws to join the boards.
Watch this video to see the steps on how to install the splash boards for your pole barn.
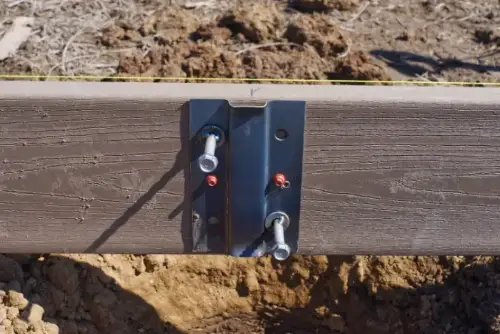
Installing Clips and Forms on a Pole Barn

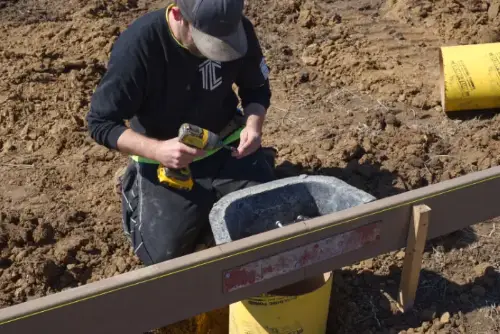
Before installing your easy-mount clips, mark the center of every pier with a pencil mark on top of the splashboard. Make two more marks 10 inches from this center point to align your concrete forms.
Next, use the included roofing screws to fasten your easy-mount clips all around the splashboard at the center marks. Use a speed square to keep them verticle. Splices should line up at the center point of the piers.
See below for more details on the installation of the clips in various locations.
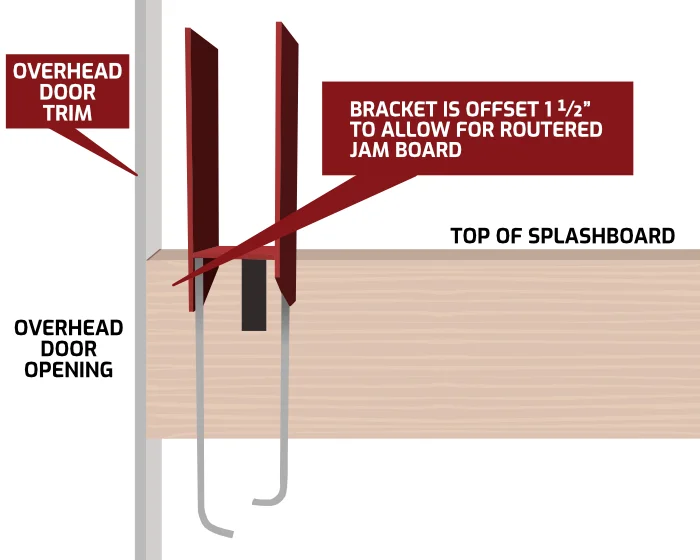
When measuring out your clips for the brackets, keep in mind to install a clip at the right position for any overhead door openings. The final opening from bracket to bracket should be 3 inches larger than your overhead door. Allowing for the 4th ply of the column for the overhead door to be installed.
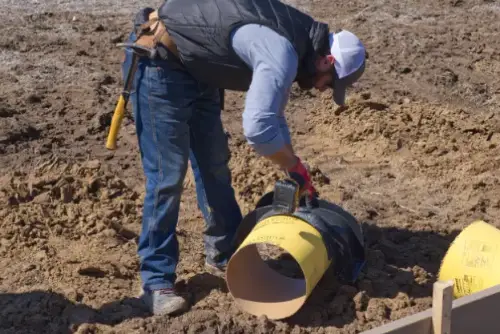
Attach the sonotube with roofing screws to the plastic concrete forms. The sonotube should go 6 inches or more below grade.
Then attach the plastic forms with the sonotube to the inside of the splashboards at the marked spots around the clips. The top of the plastic form should be level with the top of the splashboard.
Watch this video to see the steps on how to install the easy-mount clips and forms for your pole barn.
Pouring the Piers and Installing the Brackets on a Pole Barn
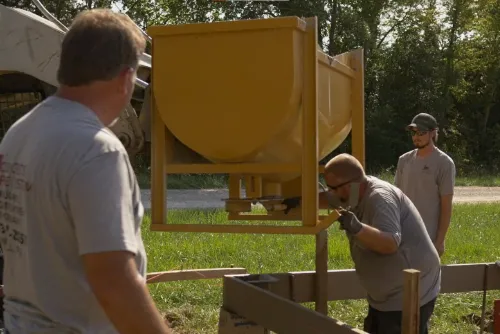
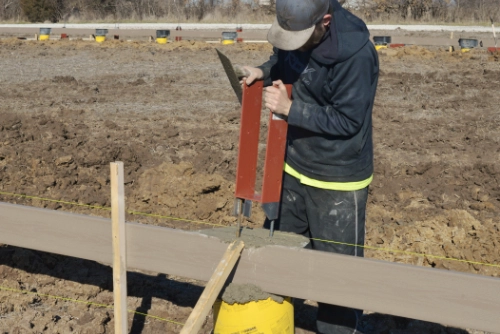
Now you’re ready to pour the concrete. Using a specially designed CPS hopper, pour concrete into each of the forms to the base of the sonotube. Then backfill the gaps between the soil and the sonotube to keep the concrete from mushrooming out.
Then fill the pier to the top of the concrete form. Vibrate the concrete so it settles properly, removing air gaps and imperfections, resulting in a stronger pier.
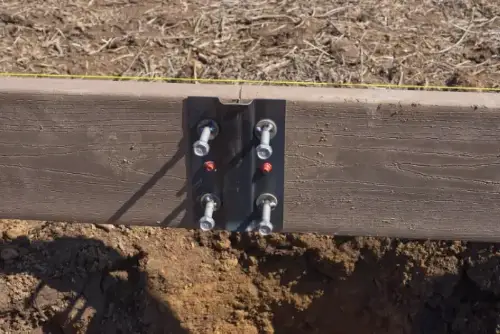
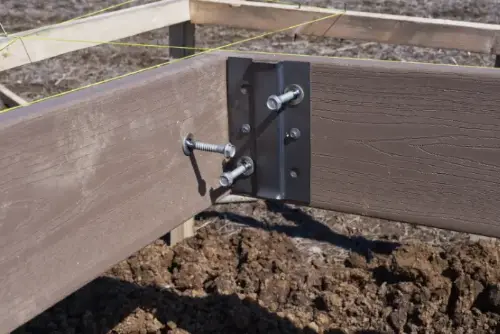
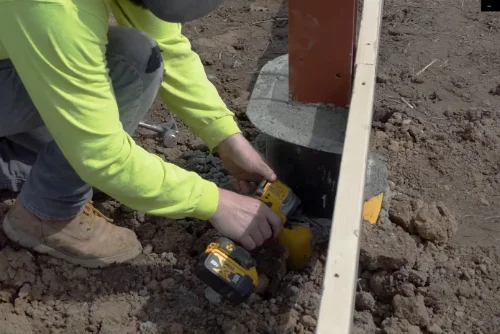
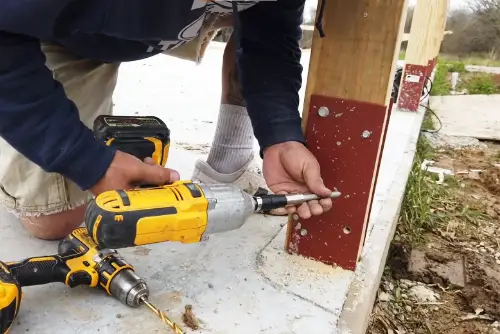
After the concrete has settled enough, insert the brackets into the concrete and make sure they slide into the easy-mount clips. That will ensure they are aligned and positioned correctly with the necessary support.
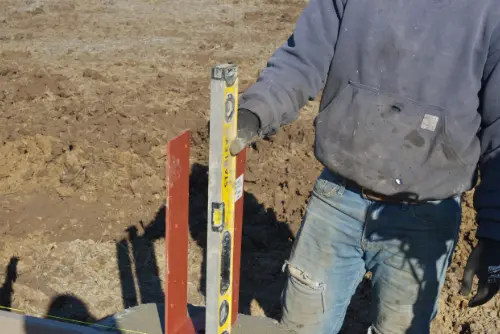
Use a level to check that the brackets are straight because once the concrete sets there’s no going back. Then strike off the edges of the concrete to flatten out the concrete to the top of the form. Once they’re all positioned, wait for the concrete to fully set before moving on.
Watch this video to see the steps on how to pour the piers and install the brackets into the concrete.
Pouring the Slabs for a Pole Barn
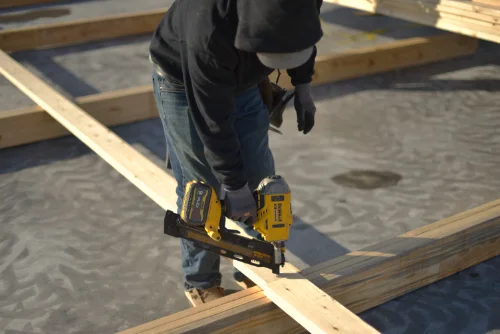
Start by removing the plastic forms from the splashboards. Add a 2×4 on top of the splash board with 6-inch screws. This 2×4 will be used to attach the siding later.
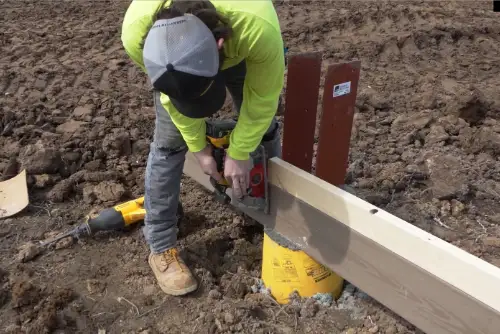
Then trim the splashboards for the overhead door openings.
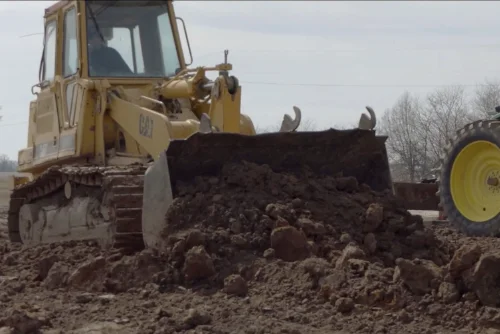
To finish up your foundation, you might have to level out and add additional dirt or gravel if needed to get your interior foundation grade level. You can also grade the exterior at this time, or this can be done after the building is finished.
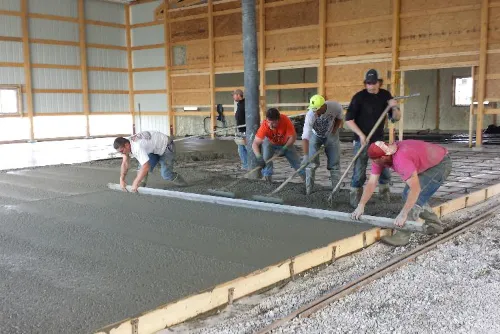
Once the ground has been leveled correctly. Install your rebar if desired. Then pour and level the concrete. And your foundation is complete. It is a good idea to have professionals do the flat concrete work for a smooth finish.
How to Frame a Pole Barn
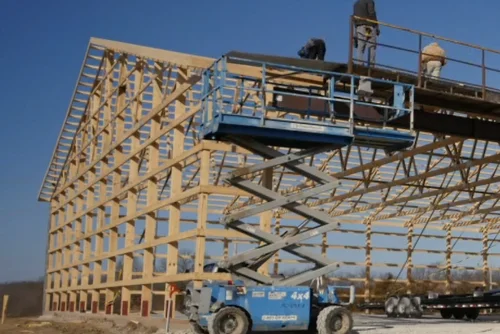
Framing the Walls on a Pole Barn
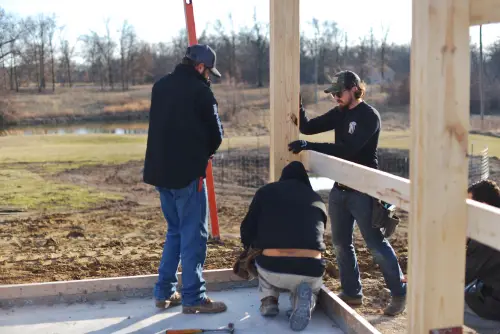
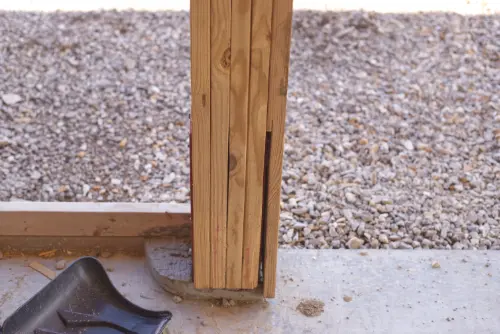
To begin framing, temporarily place your columns next to each bracket where it will be attached to the bracket. Start on each eve wall first. Once the eve walls are finished, proceed to the gable walls. Keep in mind you will need an opening large enough for equipment to enter the building to set trusses later.
Set each column into the bracket about 1 inch into the bracket so they have room to pivot into the bracket when lifted vertically.
With the columns laid out, you can begin horizontally framing the walls from the ground. Attach bracing boards that will be parallel to the splashboards securing them to the columns at predetermined heights based on your kit requirements. Make sure that the tops of the columns remain 8 feet on center or completely parallel from top to bottom if the space is different. Do not frame the corner columns. This is done last when attaching the gable ends to the eave walls.
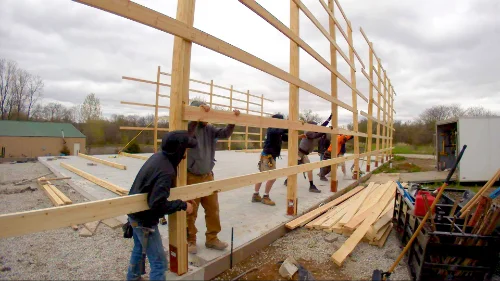
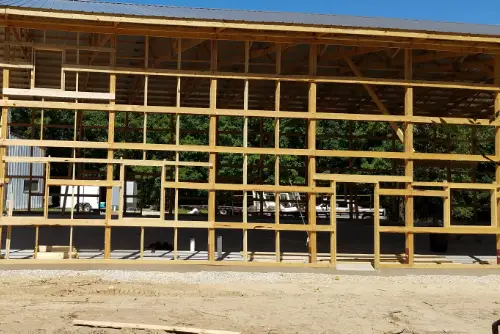
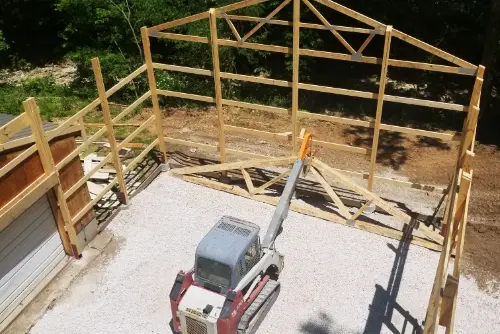
Once the framing is done, use a lift to pull up the eave sides and position them inside the brackets. There are two sizes of holes for securing the columns to the brackets. Start by screwing the smaller lags into the smaller holes for temporary installation until all walls are up and the building has been vertically squared.
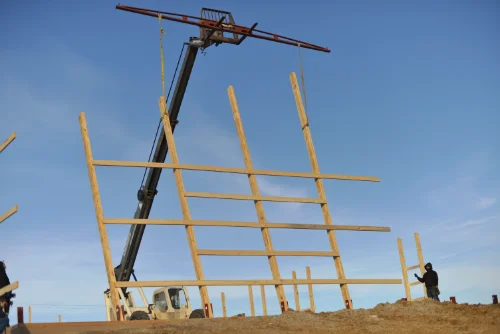
Once the eave sides are installed, frame one gable end where you will begin to install trusses. Do not frame the corner column until the gable wall is vertically in place.
Using the lift again, lift up the gable sides and secure the columns with temporary lags into the brackets like the other sides.
Install the corner columns and secure them to the horizontal framing of the eave and gable walls.
Vertically square the building using tow straps and come-along if necessary. Remove temporary screws if needed. Check each column to make sure it is level on all four sides. Drill a quarter-inch pilot hole into the larger holes. Then fasten the column with three-and-a-half-inch lags into the columns. The staggered pattern ensures the columns will not splinter or crack.
Watch this video to see the steps on how to frame the walls on the ground.
Framing Windows and Doors on a Pole Barn

With the window locations determined, measure out the height and width and mark them with a pencil. Use a level to make sure the lines are straight and perpendicular. Drill a hole in each corner of the frame outline, and use a sawzall or a circular saw to cut out the opening along the lines. Attach the frame to the bracing with nails or screws, making sure it is level and plumb.
To install the walk-in doors, the steps are the same as the windows. Mark the height and width of the door with a pencil. Cut out the opening along the lines. Attach the frame to the bracing and make sure it is level and plumb.
To frame the overhead doors, measure and mark the height of the header to the rough opening dimensions. Install the header according to the design plan specifications. You will need a header that matches the width and weight of your door.
Add the fourth ply of the overhead door column using a board of the same size as the column. Router the bottom of the board to accommodate the bracket and lag bolts, about 3/8 of an inch.
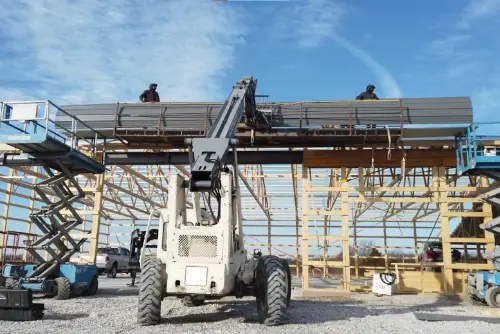
How to Build a Pole Barn Roof
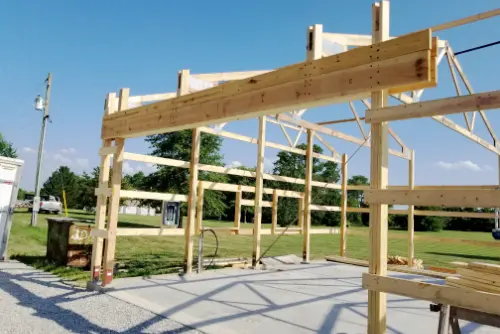
The gable end truss will align with the pre-installed boards on the corner columns. Make sure the overhangs are equal on both sides. Fasten the truss with nails on the columns.
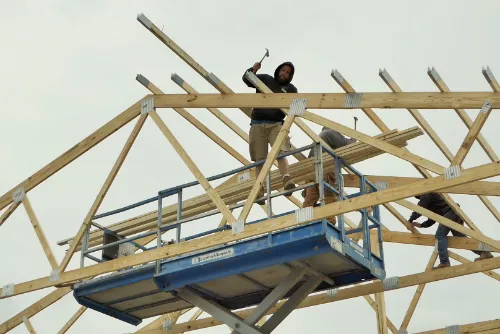
Consult the building plans to determine the required spacing between the rest of the trusses. This spacing is usually measured center-to-center 8′ spacing is the most common. And will align with the columns. Use a crane or a forklift to lift the trusses into place. CPS columns come prefabricated with a slot for the truss at the top of the column. Fasten the trusses to columns with nails. Make sure the overhang is identical on both sides. An additional through bolt is required on most applications.
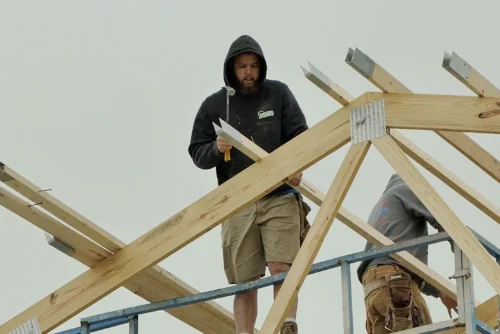
Use 2×4 purlins with pre-attached purlin clips and nail them together. Add purlins as you install each truss. One by one, place the remaining trusses at the designated intervals along the length of the building and connect the 2×4 purlins with the purlin clips between each truss. Ensure that they are aligned correctly and spaced according to the specified measurements.
Install the last gable end and fly rafters at this point, and then the facia board around the perimeter of the eave sides.
Watch this video to see the steps on how to install the trusses for the roof.
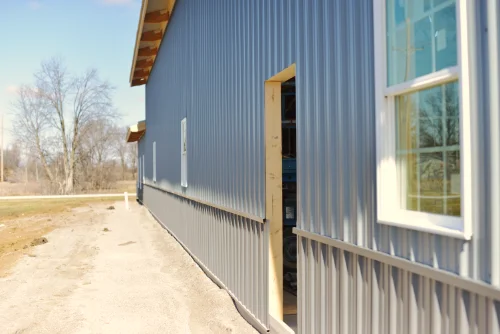
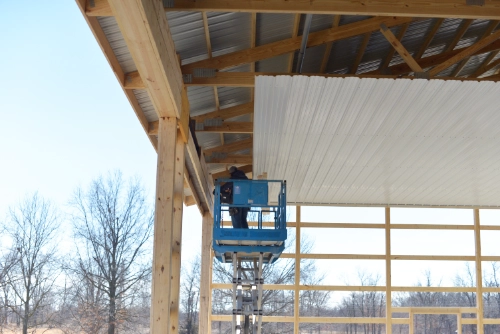
How to Build the Siding on a Pole Barn
Begin by measuring and marking the roof to ensure proper alignment and spacing of the metal panels. Start at one end of the roof and work your way across. Use a chalk line to create reference lines for alignment. Depending on your specific roof design and local building codes, you may need to install an underlayment or insulation layer before laying the metal panels.
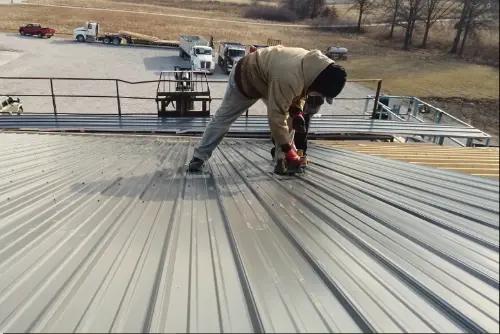
Starting at one end of the roof, position the first metal panel, aligning it with the reference lines. Make sure it overhangs the roof edge according to the desired measurement. Secure the panel using screws or nails. Avoid overtightening the fasteners to allow for the expansion and contraction of the metal. Continue installing the remaining metal panels along the roof, overlapping each panel according to the manufacturer’s instructions. Ensure that the panels are properly aligned and securely fastened to the roof deck.
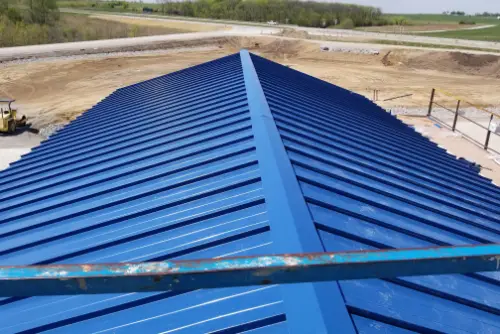
Depending on the design of your metal roofing system, you may need to install closure strips along the eaves and ridge to provide a seal and prevent moisture infiltration. Once all the metal panels are in place, install the ridge caps at the ridge of the roof. Secure them with appropriate fasteners, ensuring a tight fit and proper alignment.
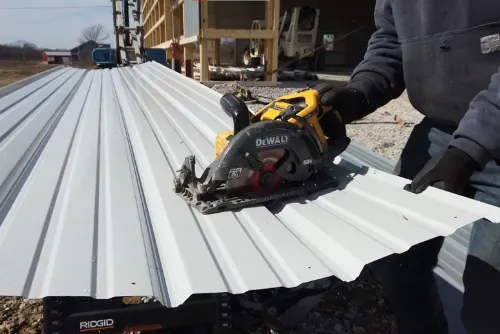
Cut the siding panels to the desired length using tin snips or a circular saw with a metal cutting blade. Make sure to wear gloves and eye protection when handling the metal.
Install the f-and-j-channels at the top of the column. Use a large framing square to find the top of the soffit to ensure that the soffit will be square, as trusses may vary slightly from one another.
To help with the installation of the side steel, add a 2×4 temporary board 1/4 below the length of the side steel around the perimeter of the building to hold the side steel while installing it.
Overlap the next row of panels so that they interlock correctly. Repeat this process until you reach the end of the wall. For the corners and edges, you may need to trim the panels. Use a metal snip or a circular saw to cut the panels. Install the outside corner trim after the wainscoting.
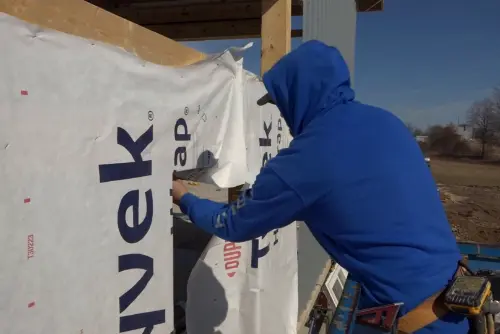
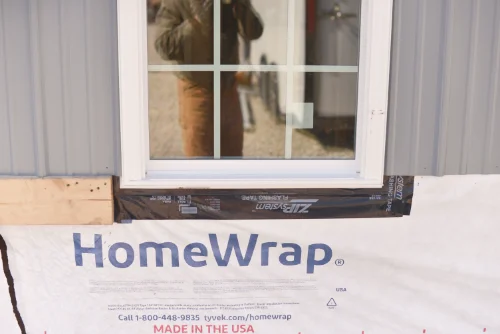
When you reach a window frame, add a paper covering around the window. Make sure it extends into the window space to allow for wrapping in. Staple it all around to the wood framing. Cut inside the window at each corner and wrap the excess inward, stapling as you go. Cut off any excess that is not stapled down.
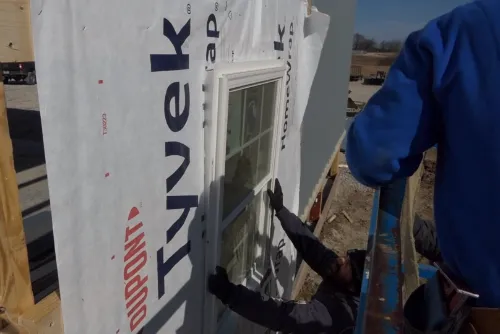
Caulk around the outside edge of the window frame and then place the window in the space and nail it down.
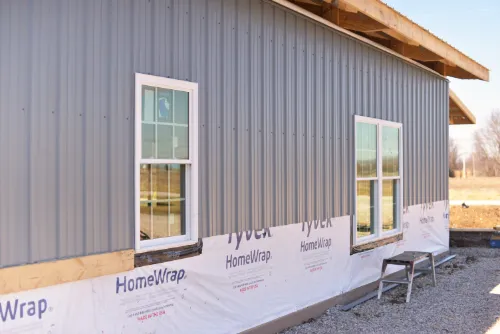
To continue the siding around the window, measure the size of the window and cut the siding to go around it. Screw in the pieces around the window.
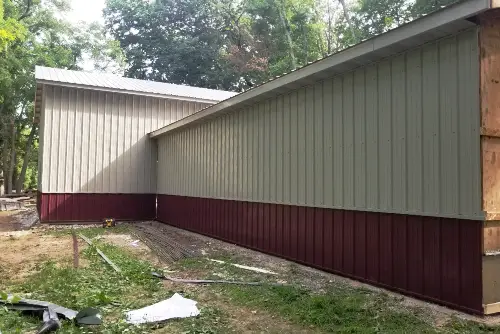
To install wainscoting, you will need to follow a similar process but with smaller panels that cover only the lower part of the wall. Make sure the ribbing aligns with the top panels. Make sure there is a 1/4 gap between the top and bottom panels. Slide the z-channel in between the two panels and fasten it in place.
Install the soffit by inserting it into the f-z-channel and fastening it to the facia board. Trim out the facia board at this time as well.
Watch this video to see the steps on how to install the metal roof, metal siding and interior metal ceiling.
How to Build the Interior of a Pole Barn
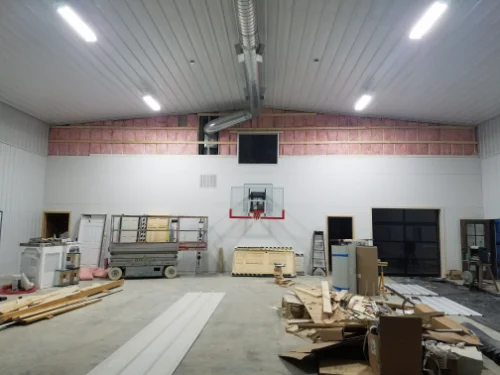
Assess the insulation requirements for your pole barn based on local climate conditions and desired energy efficiency. Choose an insulation material that meets these needs, such as fiberglass batts, spray foam insulation or rigid foam boards. Begin by installing insulation in the walls of the pole barn. Measure and cut the insulation material to fit between the wall studs or framework. Secure the insulation in place using appropriate methods, such as friction fit, stapling, or using insulation supports. Ensure that there are no gaps or voids in the insulation.
For your ceiling, measure and cut metal panels to fit between the ceiling joists or roof trusses. Secure the panels using appropriate fasteners, following the manufacturer’s instructions for spacing and attachment methods. Ensure that the panels are properly aligned and overlapping as required.
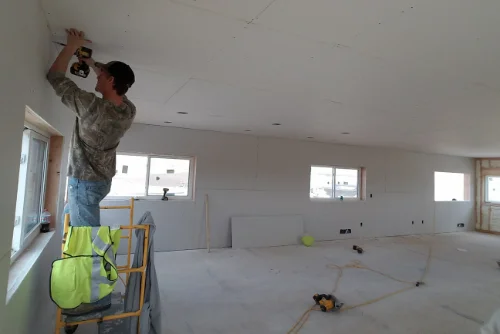
Depending on the desired interior finish, attach the appropriate wall sheathing or panels to the interior framework. Common options include plywood, oriented strand board (OSB), or gypsum board (drywall). Follow the manufacturer’s instructions for installation, including fastener spacing and joint treatment. Cut openings in the wall sheathing or panels for doors and windows as needed. Install the doors and windows according to the manufacturer’s instructions, ensuring they are properly sealed and secure.
Finishing Touches for a Pole Barn
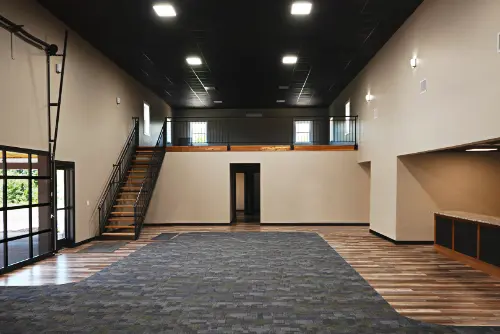
After the walls and ceiling are installed, you can proceed with finishing touches, such as painting or applying a protective coating to the interior surfaces. Install any necessary electrical outlets, switches, or lighting fixtures according to local electrical codes. Finish your pole barn kit by adding any additional flooring pieces, putting in kitchen spaces and any appliances you might want.